
Signal IT Consulting, Inc.
We protect your business from YOU by making the right technology decisions NOW!
Request Files Using OneDrive for Business
Create the Request Files URL
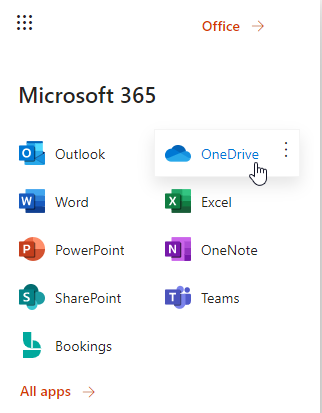
- Go to https://portal.office.com and login to your Microsoft 365 for business account. Open OneDrive from the waffle menu in the upper left
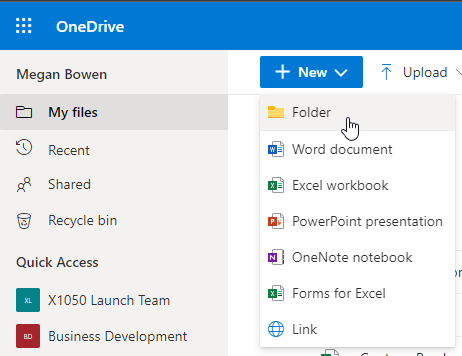
- Create a new folder where the Requested Files will be uploaded
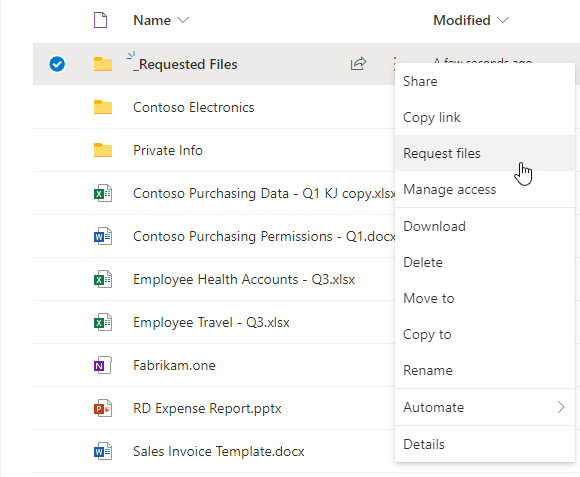
- Click on the vertical ellipsis next to the new folder and select Request files
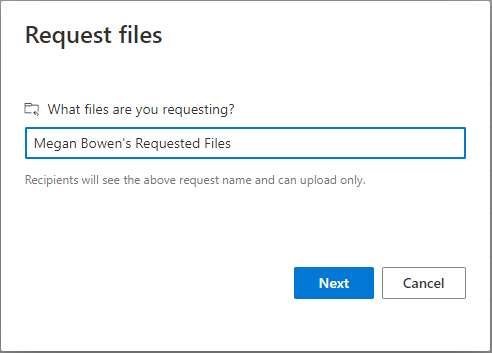
- In the “What files are you requesting?” box, type in a friendly name that will be presented to the person you are requesting files from. Click the Next button to generate the new URL.
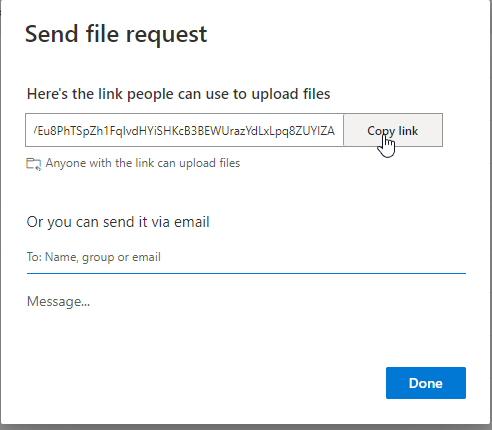
- You will be presented with the new Request Files URL. You can copy it from here and email it to the anyone that you want to request files from. You can also send an email to someone directly in this window too.
What the person receiving the request sees
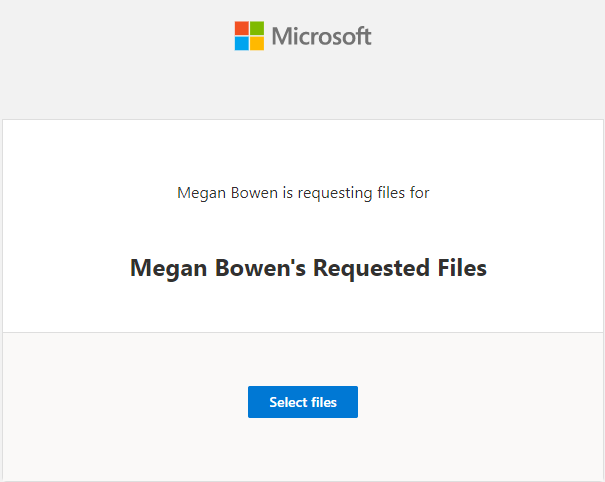
- When the receiver clicks on the URL that you sent them, they will be taken to a website that has a button to Select files.
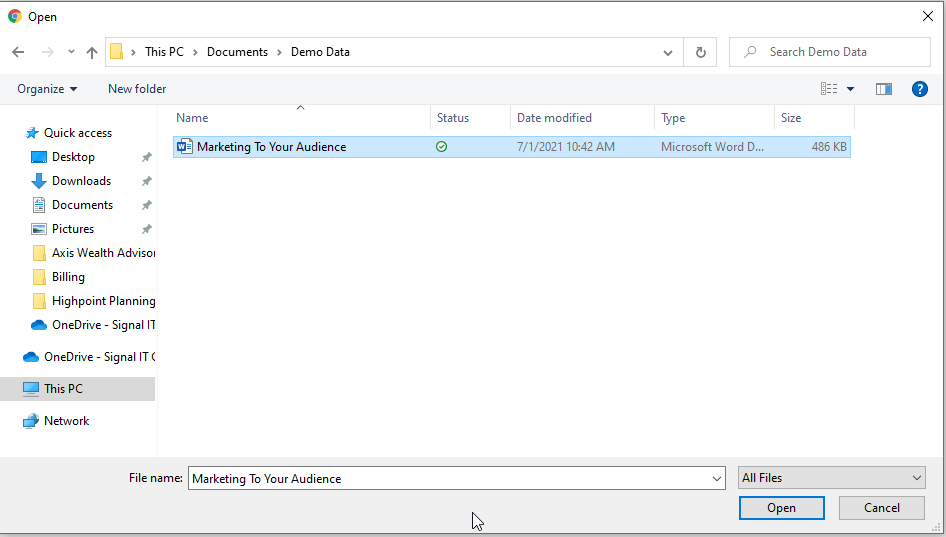
- When the Select files button is clicked, it will take them to the folders on their computer to pick which files to send to you.
- The sender will be taken back to the main window and provided with an opportunity to upload more files. Also, the sender will be prompted to enter their name. This is important for the file naming for when you receive the files.
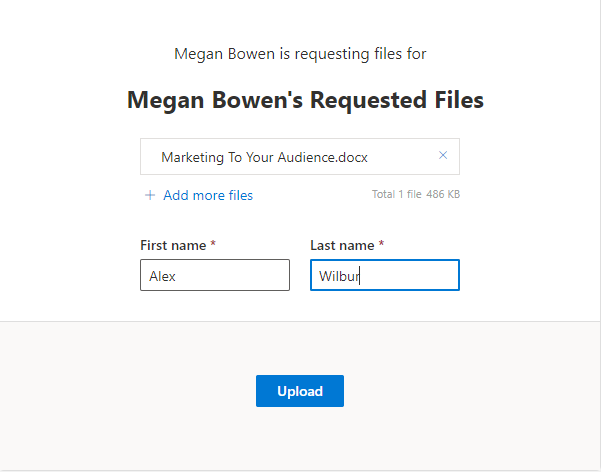
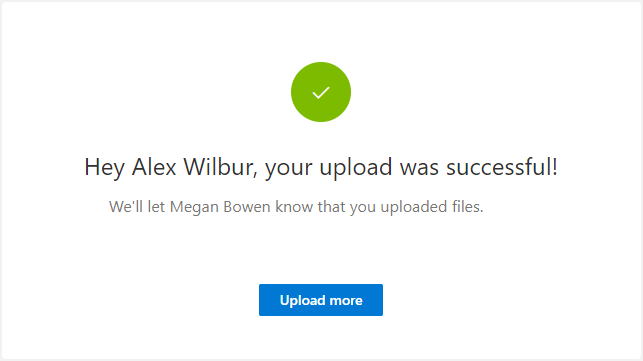
- Once all files have been selected and the name fields have been filled in, the sender will need to click on the Upload button. A confirmation window will appear when the files have been successfully submitted.
After a file is uploaded
- You will receive an email to notify you that a file has been uploaded into your Request Files folder

- The files will be in the folder, and will be named with the sender’s name as the prefix to the file name.

That is all there is to it to request files from someone in a secure method, that will allow for large files. You can reuse the Request Files URL as many times as you would like and only you will be able to see the full contents of the folder. I have recently added a link to my signature for all of my emails that will allow anyone to use the link for my account.
Hopefully you have found this useful and you can use this in your business. We will continue to provide tips and tricks such as this one in the future. If there is a topic you would like to address, please feel free to send us a note via our contact form below.
We're Here To Help!
Office
PO Box 1025
Oswego, IL 60543
Hours
M-F: 8am - 5pm
S-S: Closed
Help Desk: 24x7
Call Us
(630) 938-4757